My client wanted a guest room that was masculine. The room had an issue that kept me pondering what to do for weeks. The only light source in the room was a corner window. As a result no matter what I did to the bed this window demanded your attention when coming into the room. After much consideration I decided to design a small chaise the width of the small window and approximately the length of the long window.<br>
INTERIOR DECORATOR INTERIOR DESIGNER

A drawing was done and a list of materials was completed.<br>
<br>

A paper pattern was made for the shape of the back and one for the arm of the chaise.<br>

<br>
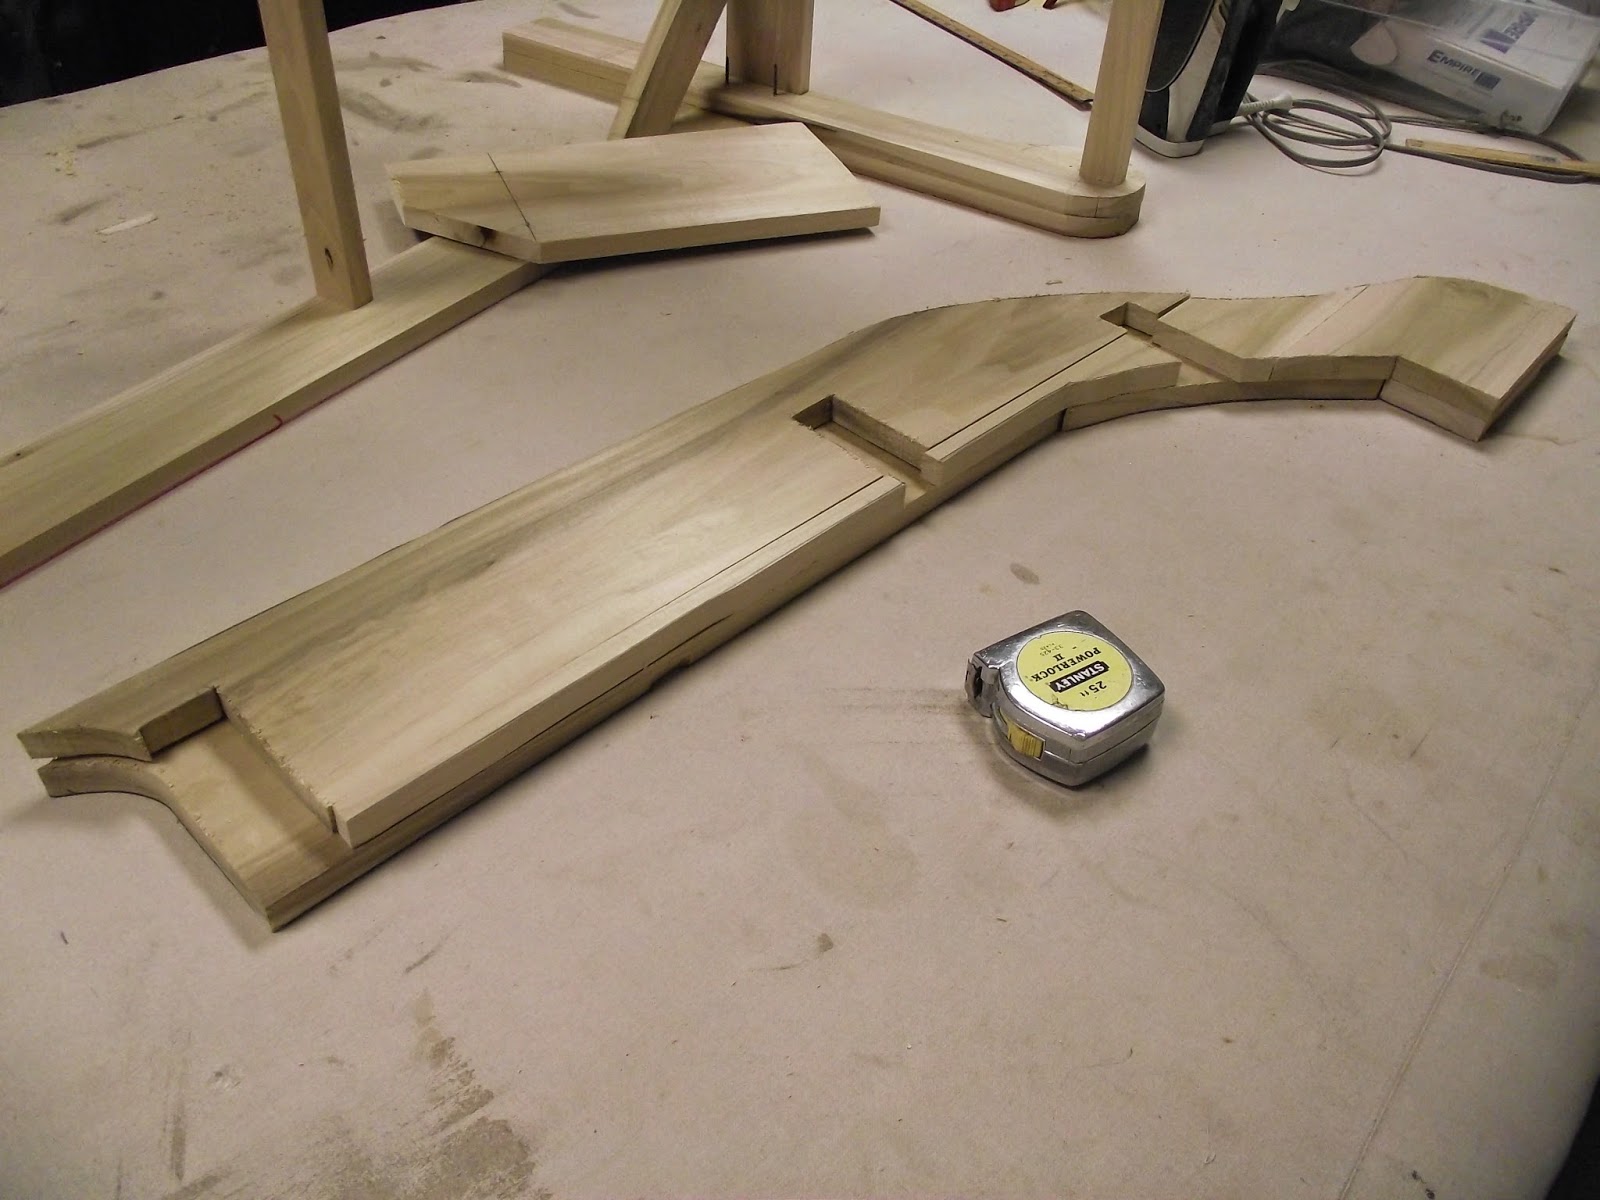
The hardwood lumber was laid side by side, the paper pattern secured on top and traced onto the lumber. The lumber was cut into the pieces to make the back.

The cut out pieces were then laid in place on top of the lumber again. Care was taken to place them so the seams did not overlap layer to layer.<br>

The second layer of the back had places cut out to receive the vertical supports of the back.<br>
On the right you can see the back section fully assembled.<br>
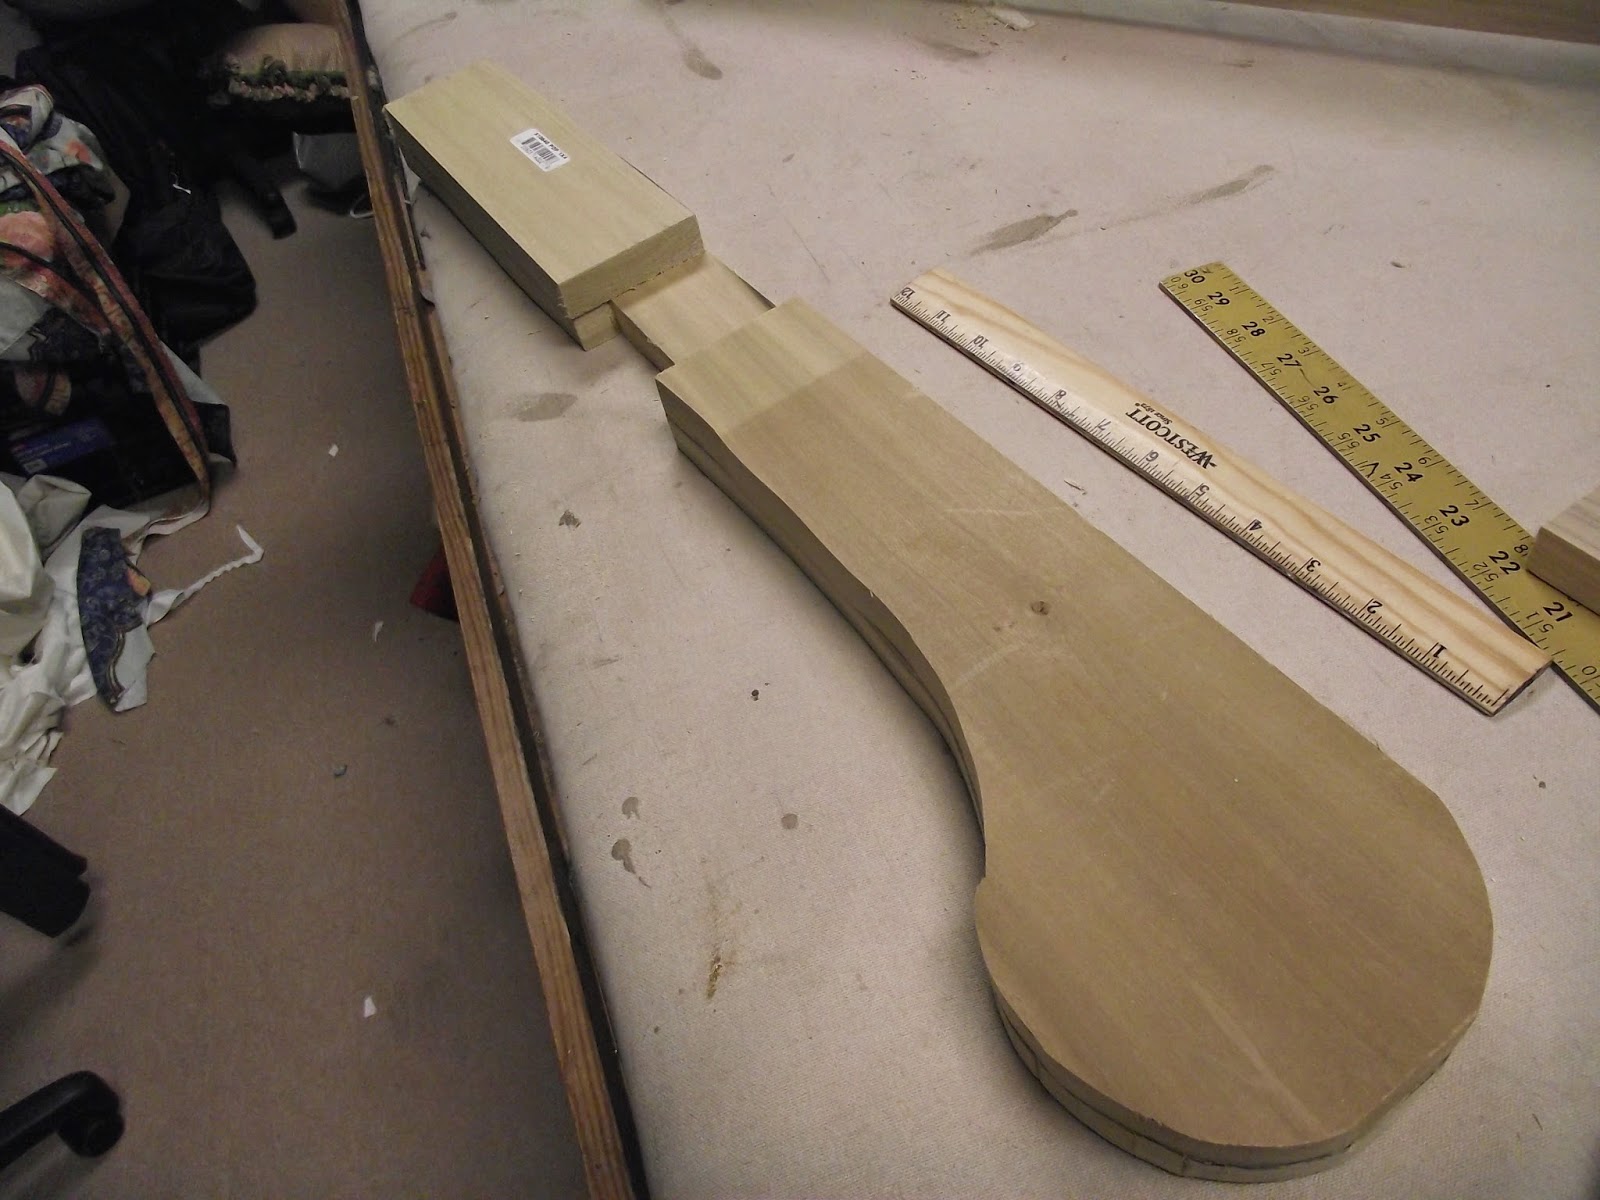
A pattern was also made for the arm. Note the cuts made in the wood before cutting the round part. They make it easier to cut the shape smoothly.<br>

<br>
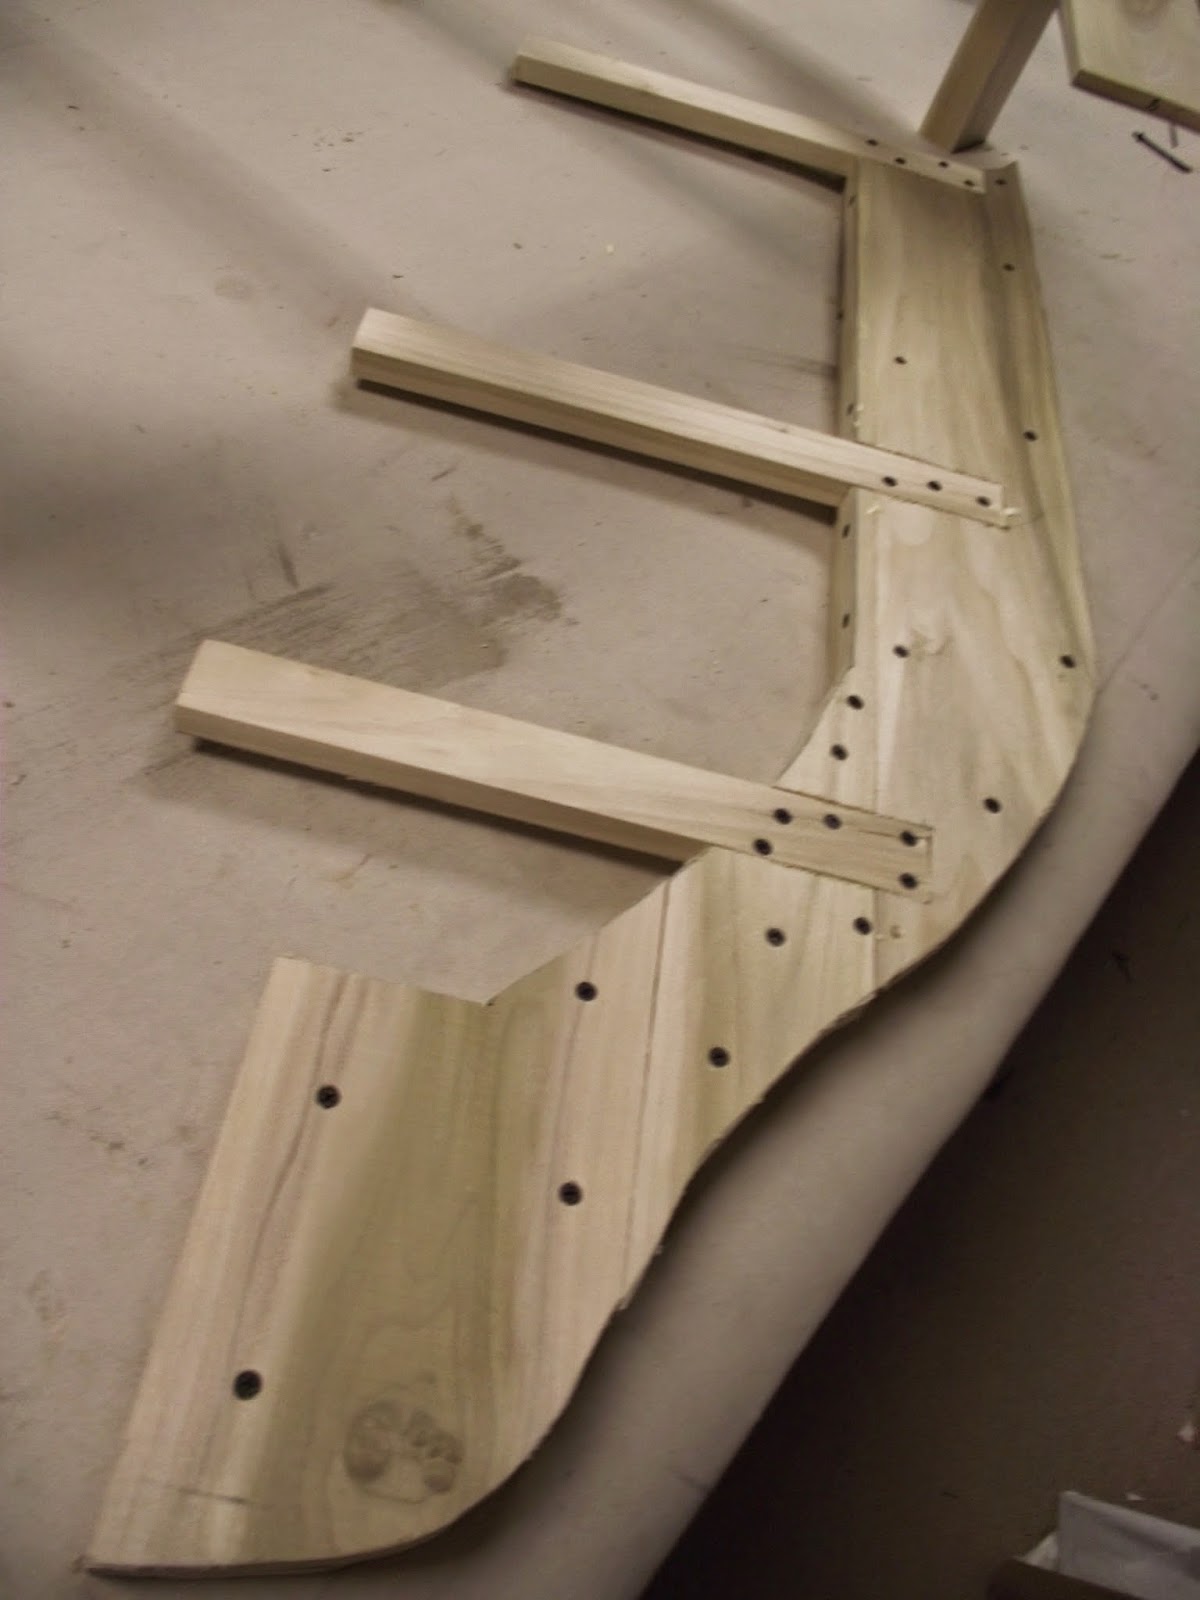
The same shape is cut again for the second layer but space is saved for the square part of the frame to fit.<br>

Here you can see how the frame will fit snugly into the space saved for it in the arm piece.<br>

<br>
Not only is the frame stronger by constructing it this way, it provides a smother front surface<.br>
 The other legs are attached to the main frame corner brace. For added strength the leg itself is corner braced on two sides.<br>
Also notice the space left between the vertical support and the back arm. This is where the fabric will have to be pulled to the back and fastened. I later realized I should have left more space than what you see here. Also on the far right of the back section two spaces were left to allow the webbing to pass through.<br>
 Next I web the bottom in an abundance of caution with traditional webbing. This is where I want the lowest point for the seat. The black rubberized webbing is stretched and attached to the top of the frame. It is used in place of springs.<br>
 The rubberized webbing is always run from front to back. Unlike traditional webbing it is only attached in one direction.<br>
Heavy flannel is attached over the webbing.
When designing a frame it is important not only to allow space where needed for webbing and fabric to pass through , it is also necessary to be sure to have frame where you need to attach fabric. Notice that a piece has been added at the bottom of the top curve of the arm. You can see her that the arm is also webbed.<br>

Foam is now cut to the size needed.
At this point it is important to review your original plan for the seat depth and length.
This foam must be deep enough that the space
left on the deck is the size planed for the seat.<br>
On the left the heavy flannel is being used to pull the arm foam into the desired shape. It is fastened only on each side and the top. The bottom as you can see must be left unfastened to allow for the fabric to be pulled through<.br>

Here you see the flannel being pulled through the space allowed in the frame. In the upper right see the rounded part of the top of the arm coming into shape. When the foam is pulled to the desired shape this flannel can be stapled to the frame because it will not block the fabric application.<br>

Here you can see the foam has been pulled into the basic shape of the finished chase. There will still be opportunities for fine tuning the shape as the fabric is stretched onto the form.<br>

The next step it to cover the arm and back with 1" polyester furniture batting. The batting gives the finished piece a soft luxurious feel.<br>

It is time to begin putting on the fabric. Here you can see the back fabric bring worked into place . Notice the relief cuts where the arm and back meet. The cuts are made larger as the fabric is gradually worked into the the area and pulled through the space left for it on the back.
There is not space for all the fabric to be hooked in the back some that will not fit through the space will tucked in unattached. It will remain in place as long as the fabric is pulled tight and attached firmly to the back and arm.<br>

The back fabric is finally in position. The pattern is level with the deck.<br>

The back fabric is stapled to the top of the back frame. Notice it is pulled over and stapled about 3" below the crest of the frame.<br>

Needle nosed pliers are being used to work the fabric through the frame so it can be tightened and and attached.<br>

A ruler is used to measure the distance of a point in the pattern repeat to the deck. This helps check if the pattern is in alignment as the fabric is being stretched and attached to the frame.<br>

More relief cuts are made to allow the fabric to go around the point where the deck and arm part of the frame are attached.<br>

Because the fabric cannot be attached to the frame as it goes over the top if the back and the arm, you must be careful to allow plenty of fabric to be turned under and for lots of overlapping of fabric.<br>

Now that the back and arm fabrics are attached it is time to make a pattern for the seat.
Lining is cut to the approximate shape plus the thickness planned for the seat cushion. Relief cuts are made and the part of the pattern representing the cushion thickness is pinned to the back of the love seat, The thickness is is double checked with a ruler.<br>
This part is important because the foam must be cut to fit the shape of the back where the top edge of the seat will meet the back.<br>

Cut the lining to the marks and pin it to the top of the foam and mark the outline on the foam.
Using a foam cutter or an electric carving knife cut the seat foam to the shape needed. <br>

Because the foam did not come as wide as needed for the seat it was necessary to use foam adhesive and glue an additional piece to the side of the piece. <br>

The small picture shows that it was necessary to glue two thickness of foam together to get the proper seat thickness. Also The fiber furniture batting is ready to be cut to shape and attached,<br>
Two large pieces of furniture batting are cut for the top and bottom of the seat. Then strips are cut the height of the seat. A "clipper" type staple gun is used to attach the pieces together. Staple every 2 or 3 inches. This also helps give a crisp edge.<br>

After all the batting is pulled tight and stapled the excess batting is cut to within 1" of the stapled edge.<br>
 Next put the cushion in place of the deck. Lay the fabric on top of the cushion. Position it until it matches-back of cushion to back of chaise. A light chalk mark can be made to show where the match is. Put the fabric on the table. Place the cushion pattern on top of the fabric with the edge of the pattern against the chalk line. Cut the fabric 1/2" larger than the pattern all around. This allows for the seam. In the interest of saving fabric, often the fabric for the front of the cushion is allowed to mismatch enough to accommodate the 1/2" seam allowance top to side. Use your judgement to see if that is acceptable. If it isn't you will need to go to the next repeat for the perfect match. After all the pieces are cut sew together to make the cover with a zipper across the back.<br>
 Now it is necessary to create a bed for the cushion to rest in. You will need 8" strips of fabric. Since the bottom three inches will show you should lay the cushion on top of the fabric and find the pattern match. Then measure out three inches and mark the fabric. Remove the cushion and measure up the fabric 8" mark and cut the strip.<br>
Repeat the process with the end of the cushion. Cut them at least 1 horizontal repeat longer than the length of the seat cushion. Cut another 1 horizontal repeat wider than the width of the cushion.<br>
Measure in from the edge 3" and mark the deck. Now measure from the mark under the are and the back to the opposite edge of the frame. Cut a piece of the upholstery fabric or lining a few inches longer and wider than that measurement. Sew the strips as shown to the edge of the lining. Use a curved needle and sew the deck piece through the lining/fabric seam at the 3" mark on the flannel deck. (see picture) Once the front and end is secure it will look like the picture. Pull the deck fabric under the back and arm. Make the necessary cuts to go around the frame so it will pull tight. Pull it tight and staple to the arm and back frame.<br>
Roll fiber furniture batting to be the width from the deck and fabric seam and about 3" thick. You can spot staple it to the frame,
Cut batting strips of batting to pad the surface of the remaining frame. Spot staple it in place.<br>
Now pull the 8" strip over the rolled up batting and over the edge of the frame. Pull it snug and staple it evenly to the frame. Your staple line should be 2" below the top of the frame. This will keep the cushion from sliding out of place when the piece is done.<br>
If you plan to have the skirt cover the rest of the bottom of the chaise you will make a weld and staple it to cover your last staple line. How to make and attach a skirt should be covered in my blog on "how to build and cover an ottoman.<br>
I appologyze for the shortage of pictures on these last steps.
Completed Chaise.

Chaise under the window it was designed for. I hope you found this useful.
Bill Gantt


This comment has been removed by a blog administrator.
ReplyDeleteWell if that guest room is masculine, it definitely has something masculine in it besides the decorating style, hehehe...
ReplyDelete